To install Apache Ant on Windows, you just need to download the Ant’s zip file, and Unzip it, and configure the ANT_HOME Windows environment variables.
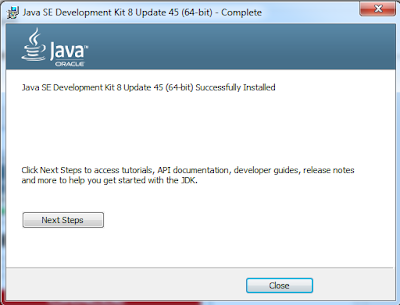
Prerequisites: JDK should be installed in your system. See How to install JDK on Windows
Go to Apache Ant official website, download the Ant binary zip file, for example : apache-ant-1.9.5-bin.zip, unzip it to the folder you want to store Apache Ant.
For example: C:\apache-ant-1.9.5
Add ANT_HOME as the Windows environment variable, and point it to your Ant folder.
Update Path variable, append %ANT_HOME%\bin at the end, so that you can run the Ant’s command everywhere.
Go to Command Prompt, type ant -version and hit Enter key.
C:\Users\Dell5>ant -version
Apache Ant(TM) version 1.9.5 compiled on June 20 2015
Trying the default build file: build.xml
Buildfile: build.xml does not exist!
Build failed
If you see a similar message above, means the Apache Ant is installed successfully on Windows.
Reference: Installing Apache Ant
Prerequisites: JDK should be installed in your system. See How to install JDK on Windows
1. Configure JAVA_HOME as Windows environment variable:
2. Download Apache Ant:
Go to Apache Ant official website, download the Ant binary zip file, for example : apache-ant-1.9.5-bin.zip, unzip it to the folder you want to store Apache Ant.
3. Unzip it to the folder you want to store Apache Ant:
For example: C:\apache-ant-1.9.5
4. Add ANT_HOME:
Add ANT_HOME as the Windows environment variable, and point it to your Ant folder.
5. Update Path:
Update Path variable, append %ANT_HOME%\bin at the end, so that you can run the Ant’s command everywhere.
6. Verification:
Go to Command Prompt, type ant -version and hit Enter key.
C:\Users\Dell5>ant -version
Apache Ant(TM) version 1.9.5 compiled on June 20 2015
Trying the default build file: build.xml
Buildfile: build.xml does not exist!
Build failed
If you see a similar message above, means the Apache Ant is installed successfully on Windows.
Reference: Installing Apache Ant


